It's easy to create custom, printed dividers in just minutes, with Avery Index Maker Dividers. Featuring our Easy Apply™ label strip, you can label all your divider tabs at once. Just print, stick and peel. These step-by-step instructions show you how easy it is to create custom dividers in a snap.
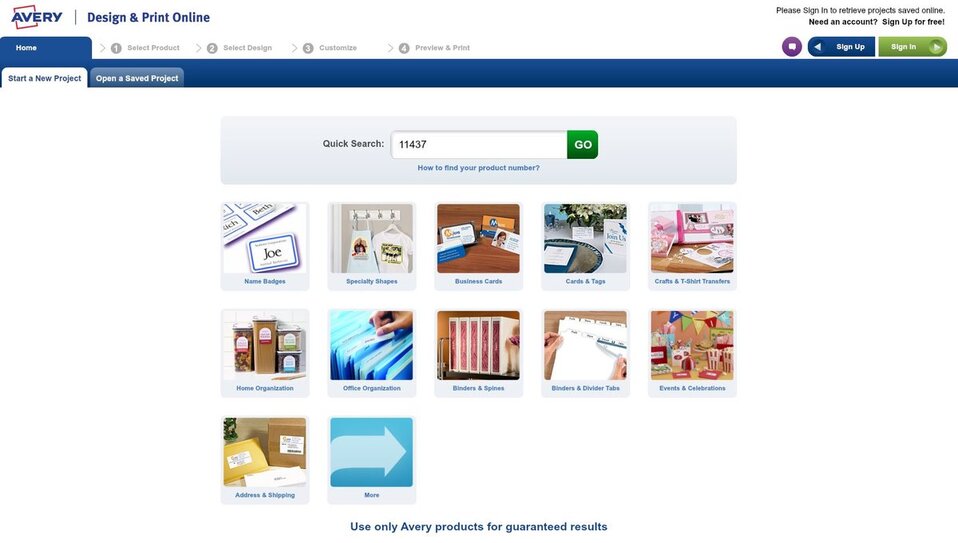
Step 1: Enter Product Number
Get started by entering your Index Maker® product number at Avery Design & Print Online. Click Go.
Step 2: Select Specific Product
Quick Search the Index Maker Product Number and Select whether you will be creating multiple dividers using the Easy Apply Strips or one set, then Click Next.
Step 3: Choose a Design
Browse the categories and either choose a pre-designed or blank template and click Next.
Select the number of sets you will be creating from the drop-down menu and choose whether you want your sets collated or grouped when printed. Click Next.
Step 5: Add Text and Graphics
Add text information for each tab. If you want different images on each tab, make sure and check the Different Image Each Tab bubble. Also check whether you want your logo on the right or left. Click Create Dividers.
Choose each tab to adjust the placement and sizing of the logo & text box. You will have to adjust each tab/column individually even if you are using the same image.
Step 7: Preview, Print and Save
Preview your template for errors, then print. Save your template to your MyAvery account or to your hard drive for future use.


Validate your login