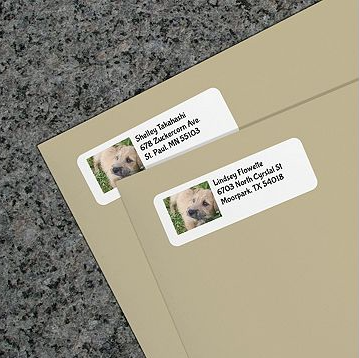
Personalize your mailings with photo address labels. With Avery Design & Print, it’s easy to drop in a photo, logo or other image to your label design, then add your address and print. We’ll show you how.
Find your Product
For this project, we’ll be using the White Easy Peel® Return Address Labels
Open Avery Design & Print Online
Go to avery.ca/print and enter the Avery product number under "Start a New Project."
Choose a Template
In this case, the choice was simple. Double-click to highlight and select
Select a Design
Use the design menu on the left to find a design you like. For this project, we looked under “Blank & Text Only” and chose the one with a placeholder box for our image.
Double-click the design to load the template.
Add your Photo
Click to select the gray box that read "PLACE IMAGE HERE"
Double-click the design to load the template
From the Images menu on the left side of the screen, click the first button that reads, “Replace Image.”
Locate the photo you wish to use. If it’s stored in your computer, make sure the first tab, “Computer” is highlighted. Then click the green “Browse for File” button in the middle of the screen.
You can also add your photos from Facebook. Click the “Facebook” tab on top, then sign into your Facebook account to access your photos.
Format your Photo
Once you’ve selected your photo, it’ll appear in your design template. You can format your photo using the tools from the Images menu on the left.
We resized the photo by selecting the image and pulling the anchor around the photo to make it larger. Then we trimmed a little off the left using the crop tool found in the Images menu.
Enter your Address
Now all that’s left is entering the address.
Click to highlight the text box, then add in your info.
Format your Text
Using the text menu on the left, we can change the font, the text color, adjust the size and more. To move the text, select the text box so the broken line around it becomes a solid line. Then move the text with your mouse or arrow keys on your computer.
Preview & Print
Click the “Preview & Print” button on the upper-right-hand corner of the screen to review. When you’re ready to print, choose your print option on the right-hand side of the screen.
Don't forget to save your project! Click the diskette icon to the left of the Print Options box.


Validate your login